Welcome to It's Not Harduino! This website is dedicated to teaching you how to build and code your own bionic finger to move with your own using Arduino. Find your way through this easy to navigate website, and have fun with your bionic finger! Because it's only Arduino, and it's not hard :)
Why Are Bionic Fingers Important?
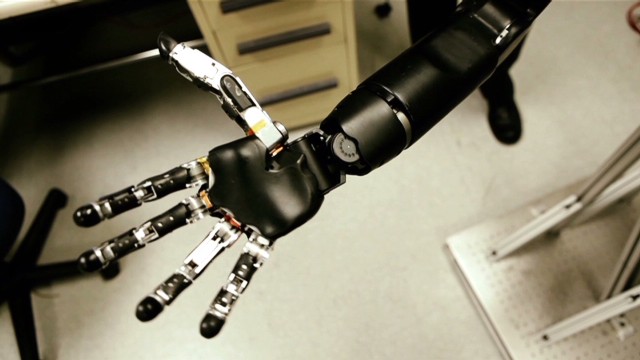
You may ask, why are bionic limbs so important? Often, someone is in some sort of accident, whether it's a car accident or a shark attack. When these things happen, limbs can be lost, but most activities require arms and legs.
Bionic limbs help to replace lost limbs and allow the victim to continue on with their life.
What You Will Need For This Project
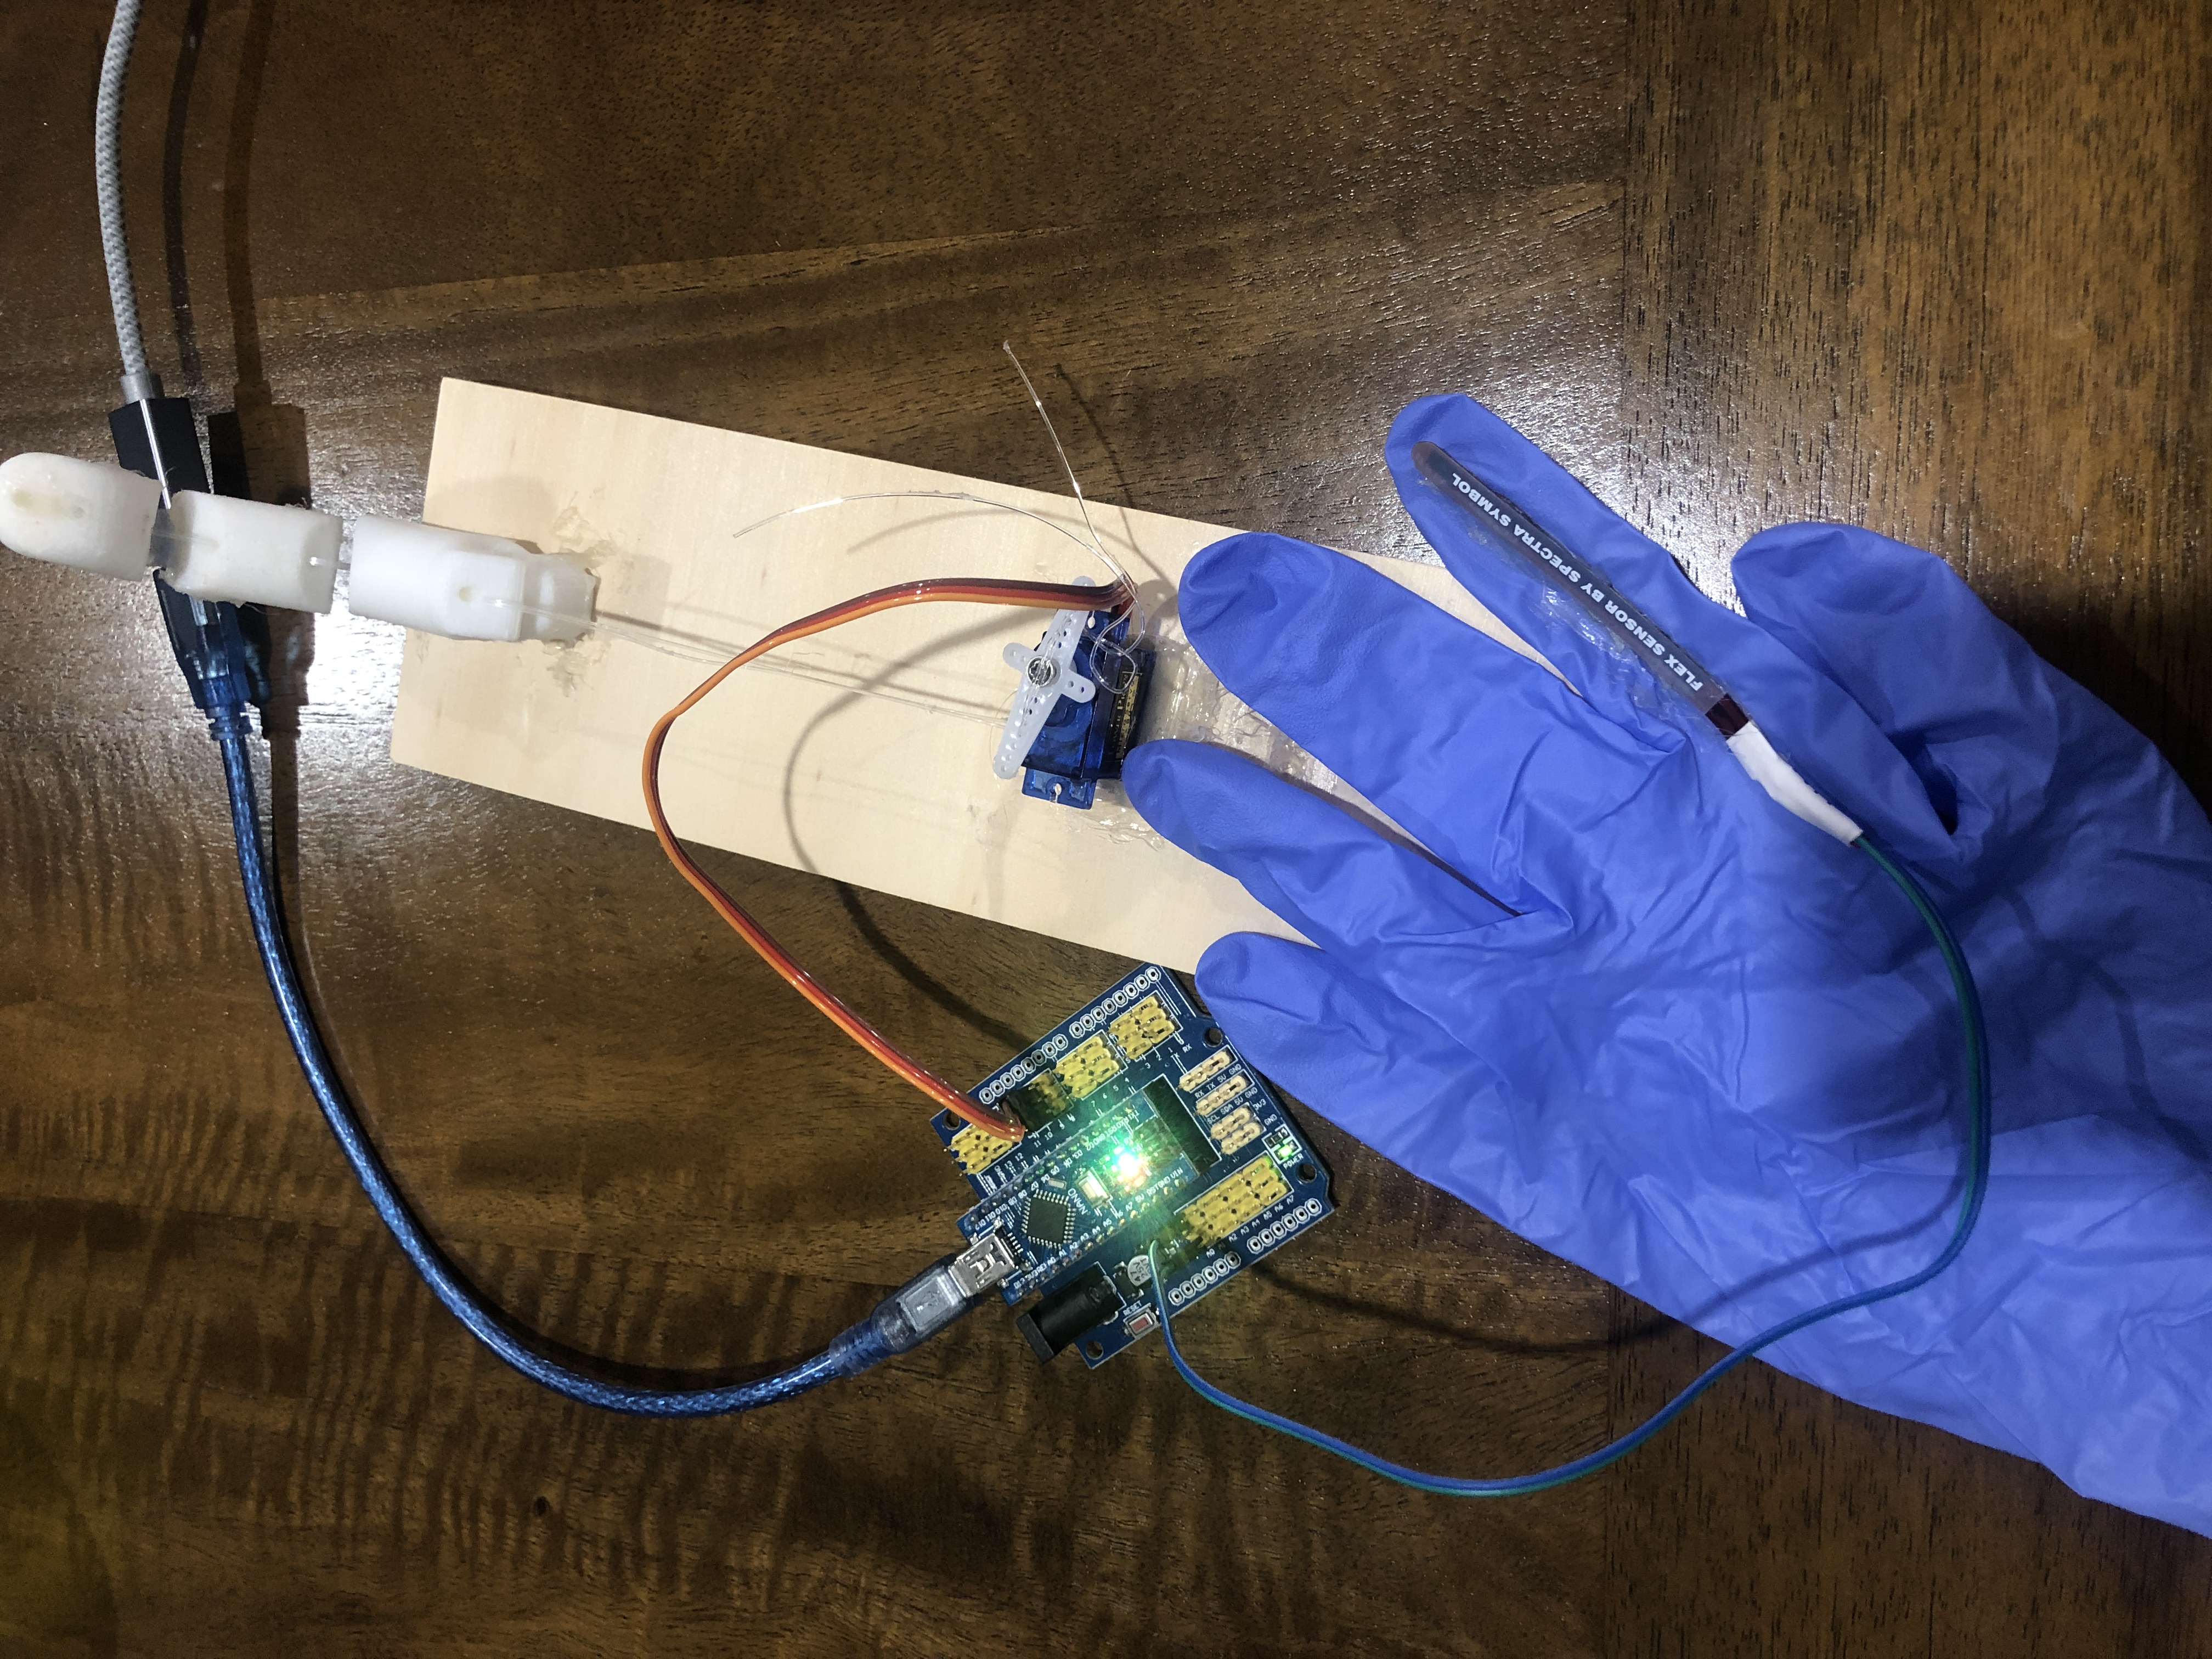
Here is a list of the things you will need to build the finger:
1) The three plastic parts of the actual finger--> what you will be moving!
2) A length of fishing wire or string--> attaches to both the finger and the servo to move the finger
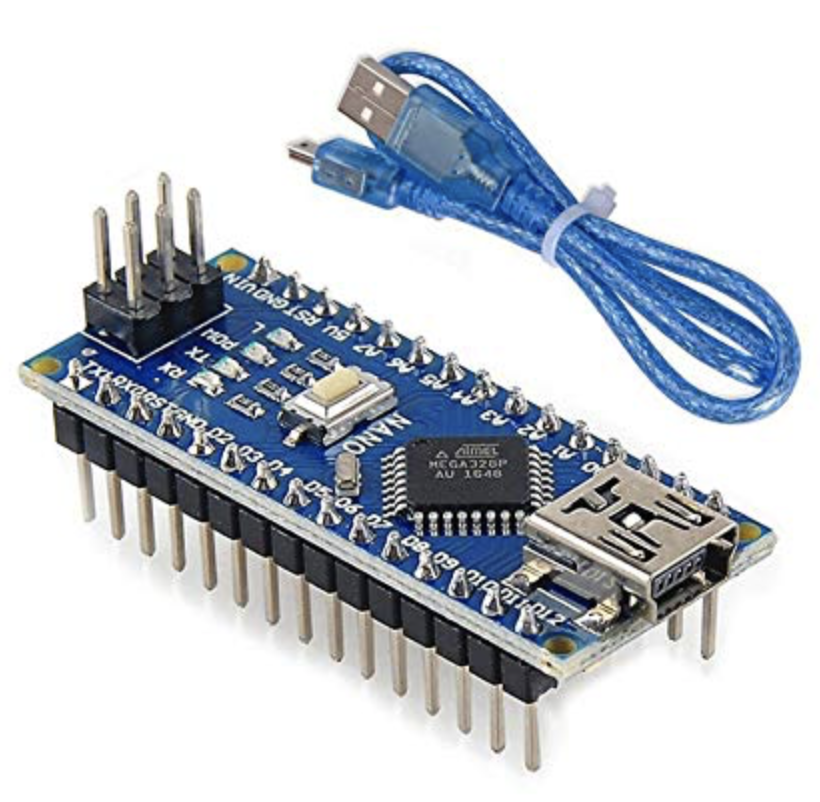
3) An Arduino nano board--> recieves the code that gets the finger to move
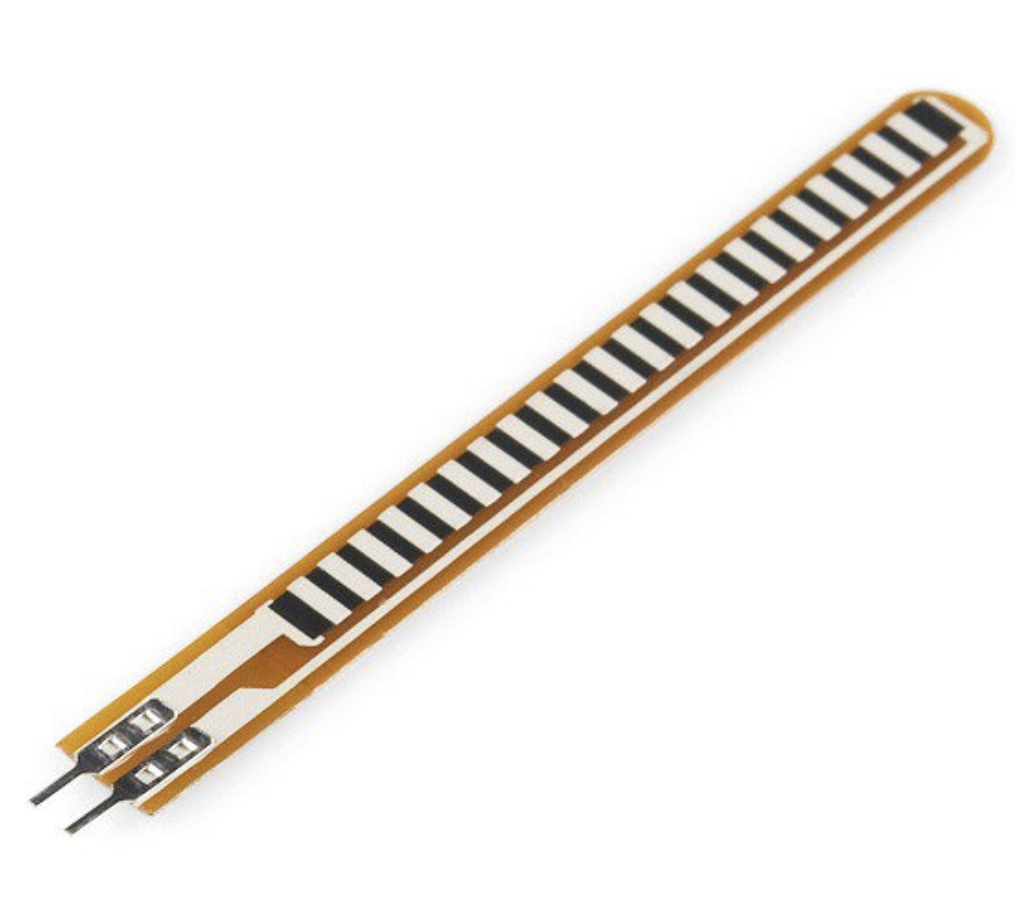
4) Flex sensor--> detects movement and gets the bionic finger to replicate the movement
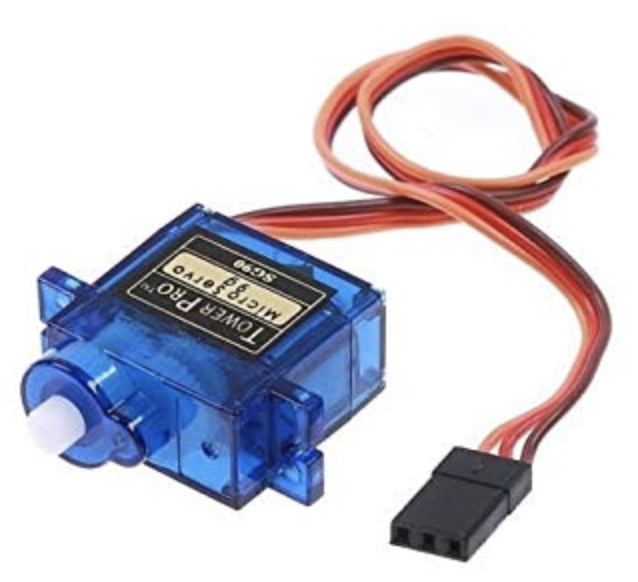
5) Servo--> moves to the angle from the flex sensor which pulls the string attached to the finger, bending it
6) Wooden board--> this is something to attach the finger and the servo to so that the string is pulled taut and when the servo moves, so does the finger
7) A small strip of clear plastic--> this is to attach the finger pieces together
Constructing the Finger
Building the actual finger may seem complicated, but do not worry because it's not. Here are the steps, broken down as much as possible:
1) Put the plastic parts of the finger in order. The biggest one should be on the end, the medium one in the middle, and the smallest one on the end, with the nail facing down
2) String the fishing wire through the holes at the top of the finger pieces
3) Hot glue the end of the string to the end of the finger so that it can't slip through. When you pull the string, the finger should bend.
4) Take your strip of clear plastic and cut it into four pieces about 2 cm each. Then stack two and hot glue them into the thin holes in between the two finger pieces to hold then together. Do the same with the next two clear plastic pieces
to connect the other parts of the finger.
5) Use the hot glue to glue the end of the finger (the opposite side of the nail side) to the end of the wooden board to hold it in place.
6) Push the fishing wire through the holes in the fan of the servo and tie it so it can't pull out. Then glue the servo onto the wooden board far enough away from the finger so that it's taut. When the fan spins, the finger should bend since
the string is being pulled.
7) Attach the cords coming out of the servo to the row labeled 9 on the Arduino.
8) Attach the cords of the flex sensor to the Arduino on the other side.
9) Now when you plug the Arduino into your laptop with the code, the plastic finger should move with yours! See the "The Code" tab for the Arduino code.
The Code Itself
You can just copy this from here and into the Arduino sketch. Then press the arrow pointing right on the top left of the screen to upload it to the actual Arduino Nano. Make sure your Arduino is plugged into your laptop through the blue cord to upload!
Below is a video with the explanation of what all the code means.
About the Writer Behind this Website
It's Not Harduino was made my Jasmine Clancy, a year 9 STEM student at Wenona. She made this website to provide the instructions on making a bionic finger to all!
When she's not writing code or assembling plastic fingers, you can find her reading a good book, writing, drawing, singing, or any of her other hobbies.
She hopes you have fun making your finger and wishes you a wonderlandiful day :)
Q and A
Question 1: What if it doesn't work?
Answer 1: Well there it is. The straightforward, to the point problem question. What if none of it works? Try some of these and hopefully one works. First off, compare your code to the code you were told to copy. When it comes to code, even the slightest detail like a semicolon or a comma can make all the difference. If the code is correct, make sure the cords are all plugged in correctly and the right way. If that's correct, then check your Arduino Nano itself. It may be broken or out of battery. In order to charge it, plug it into a special battery and lights should turn on. If the battery isn't the problem, then it may just be that it's broken and try with a different Arduino if available to make sure. Arduino fine? Check that the servo is working properly and spins without problems. The fan should spin smoothly with no resistance for about 180 degrees, so if it's a little hard to spin, I would try to replace that. Finally, make sure that the plastic finger is attached to the servo. You would be surprised how many people go through this just to discover that the fishing wire isn't tied to the servo.
Question 2: Where do I plug in the servo and flex sensor cords?
Answer 2: Great question! The servo cords should be plugged into row 9 on the right of the Arduino with the brown-colored one under the g. What g, you ask? At the top of the rows, there should be letters. The one on the far right is g which stands for ground, and is the side the brown cord should be on. As for the flex sensor, they will go on the opposite side of the servo ones, on the last row to the top. In this case, it doesn't matter which is on the right and left.